
Editing Sitecore Azure ARM Templates - Part 4 - Executing the deployment
Monday, April 17, 2017
This is the fourth and final post in my series on Editing Sitecore Azure ARM Templates, if you haven't read the others you might want to head back to the beginning and start from there, you can find it at Editing Sitecore Azure ARM Templates - Part 1 - Introduction.
In the previous posts in this series we have created a custom WebDeploy package which accepts a new MongoDB connection string used for the session database, we then customised the default ARM Templates provided by Sitecore to remove the creation of the Redis features and instead pass in the new connection string. All that remains now is to populate the various parameters then execute the PowerShell script and ensure the created architecture matches the target state we were after.
Editing the Parameters
There are two sets of parameters that need to be populated, the first exist in the azuredeploy.parameters.json file and the second set exist directly in the PowerShell script. Starting with the azuredeploy.parameters.json these are pretty straight forward, the connection strings are copied from the MLabs Mongo databases that we created in the first post then the various logins & passwords that we require are configured.
The only parameters that do require some work are the packageUrls. In the second post in this series we uploaded our WebDeploy packages into Azure blob storage ready to be accessed by the deployment script, now to access them we need to create a Shared Access Signature (SAS) for each of the files. This can be completed using the tool I mentioned previously, Microsoft Azure Storage Explorer.
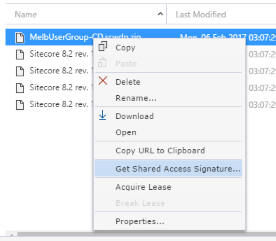
You can see above that the Right-Click menu gives you a simple way to generate these signatures, which can then be used to populate the azuredeploy.parameters.json packageUrl parameters.
The final set of parameters that we need to populate are at the top of the PowerShell script and are the name you want to give the deployment in Azure, the data centre that you want to deploy to and finally the Azure Subscription ID that will be used to deploy to.
Executing the deployment
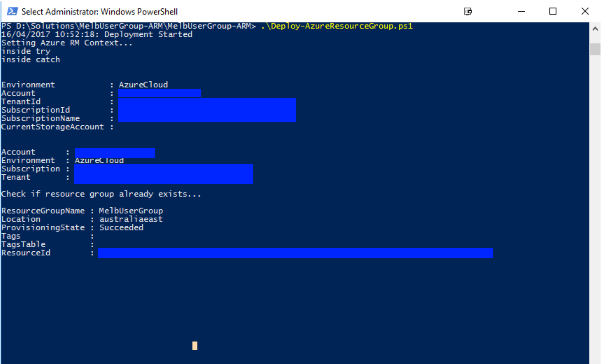
Once all of the parameters have been completed executing the script is a simple task, you just have to open PowerShell and execute the script located in the project. Once it starts running you maybe prompted to provide your Azure credentials, but once you have been authenticated then the deployment will commence. Note that this can take some time to complete as there are quite a few different Azure resources being deployed.
Once the PowerShell script has completed we can log into the Azure Portal and see that correct resources have been completed, we can see each of the different server roles but most importantly, no Redis!
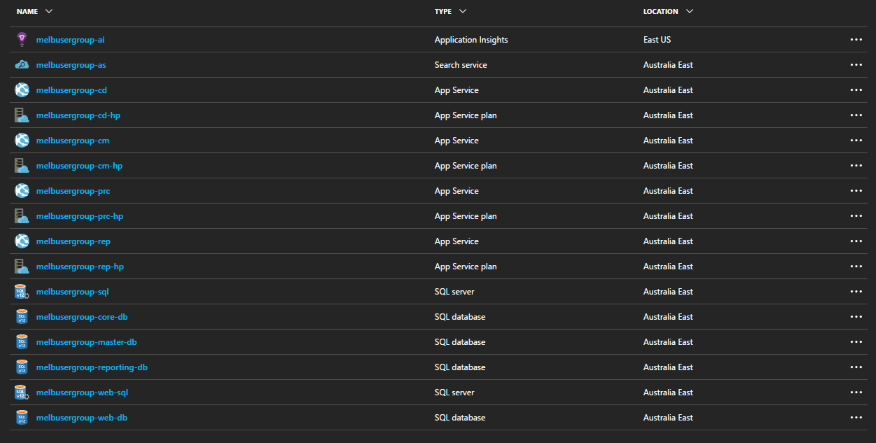
At this point our work is complete, we have an architecture deployed into Azure that matches our target state, ready for a codebase to be deployed on top of.
Hopefully this series has helped to demystify Azure ARM Templates and how the different elements interact with each other during the deployment process. The complete ARM templates are all available as part of a Visual Studio project on my GitHub.